
Top 10 Lightroom Tips 2022
January 18, 2022It has taken me many years to learn all the in’s and out’s of Lightroom. I am sure there are plenty of tips and tricks that I still have not mastered. As I teach editing and creative courses, I get asked about shortcuts and easy ways to complete edits.
These are my top 10 Lightroom tricks - keyboard shortcuts and editing tips. I use these daily and hope that you learn something new that you can use too.
The video below will walk you thru these tools.
1. How to “cull” images. How do you process all the photos taken and decide which ones to edit? I like to upload all my pictures, and then as I review them, I flag the image using the “P” keyboard shortcut - for a pick. Once I check all the photos, I filter my view by flagged-picked images. Then I begin to edit. Once I edit an image and like it, I click the “5” keyboard shortcut - which rates the print a 5. You can also use the “6, 7,8” keys to color-code your images if you prefer that.
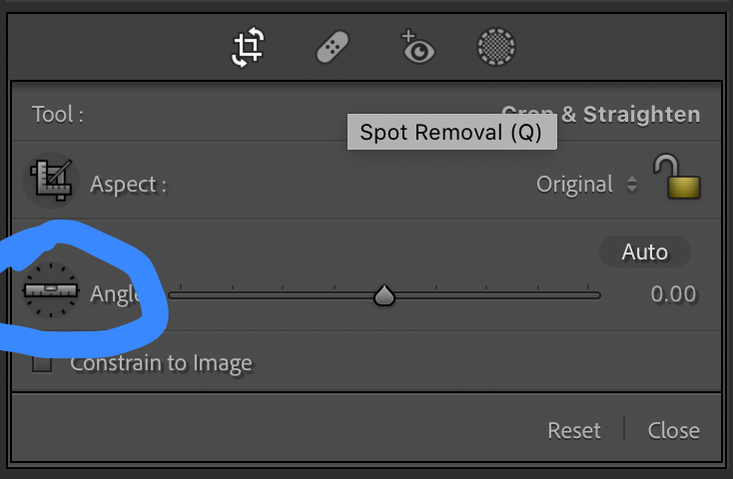
2 and 3. Crop tool guides. There are easy ways to ensure your image is straight and cropped the way you want. Using the ruler guide in the crop tool or the options under transform will help ensure accuracy. Check out both methods in the video.
4. Sliders - did you know the slider panel can adjust in size to help in making fine-tuned adjustments? Hover your cursor over the left edge of the editing panel and you can slide it to open or close.

5. Auto editing - I never used this feature in Lightroom until recently. It feels like cheating! But, with the new AI technology, you really should give it a try. It gives you an excellent starting place for your edits, all with one click of the word Auto.

6. The “L” keyboard shortcut. This is a secret feature that allows you to see your image without all the lightroom menus. It is helpful when editing to see the image as if printed. Just click the letter “L” on your keyboard and see the magic happen.
7. The “" keystroke is the shortcut way to see the before image after you start editing. It is my best friend.
8. Tone curve is another tool I always use in my edits. I love to adjust the mid-tones with just a tiny tweak using the tone curve. If you do not use the tone curve, give it a try, it really can help you make those minor adjustments that bring more life to your images.

9. Adobe rolled out new masking features in 2021 - they are amazing. One of my favorites is the color range mask. This allows you to select a color in your image and then adjust to just that area. The new masking menu will enable you to target the site using the add or subtract menu options. You can then increase saturation, temperature, exposure of that color area.

10. Color Profiles are a sneaky feature located at the top of the develop module under the histogram. The color profiles are another creative way to make an easy one-click change to your image. Monochrome, artsy, landscape, and many more options are located under the profile section. These adjust the color profile that Adobe uses to view your image. They bring in a new tone and give you additional options for editing. I don’t use this with all photos, but sometimes I try a profile to see how it will help me achieve the look that I want for an image.

Those are my top 10 tips for the start of the new year. They are a mix of simple keystrokes that save time and more extensive editing tools. I hope you will try all of them and see what works for your process.