Floating Florals
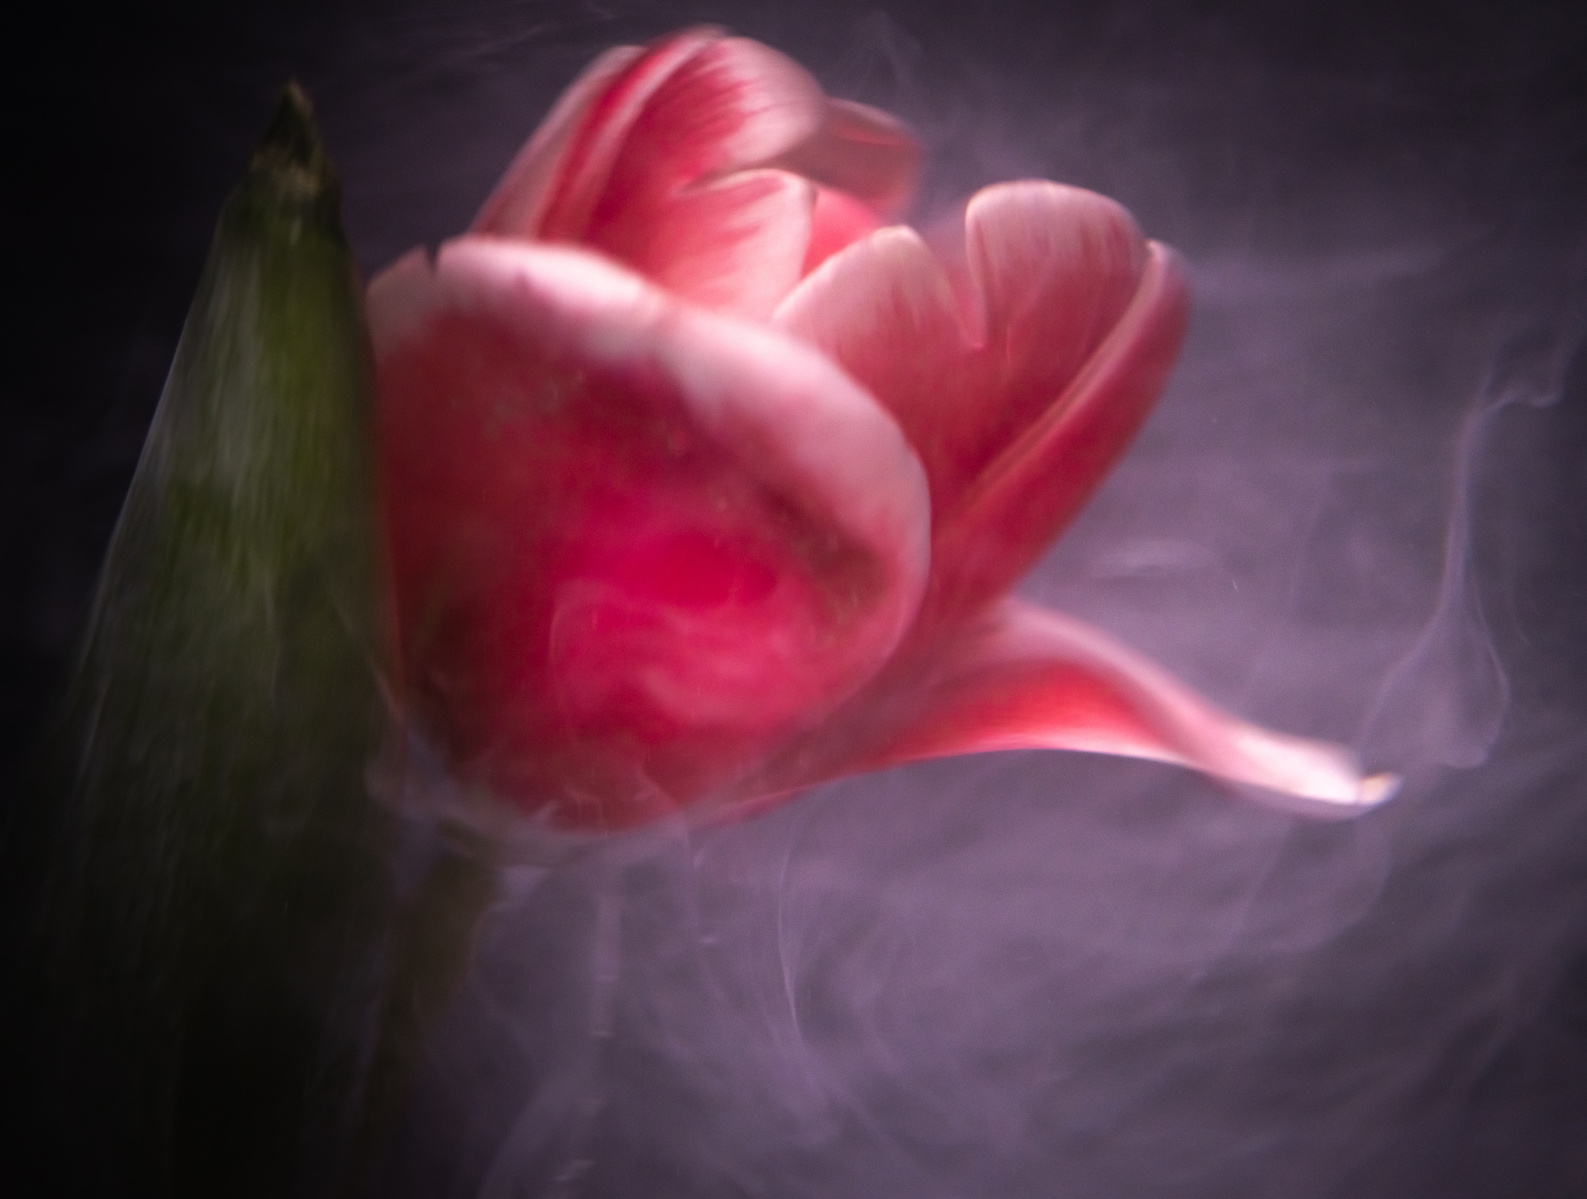
February 18, 2024I started a personal photo project in late January inspired by the images created by artist Robert Peek. He makes stunning floral photos shot in a fish tank surrounded by water and ink. They are mesmerizing to me and so abstract and ethereal. I wanted to attempt to replicate but put my spin on his technique. My first attempt at this project was authentic learning. With each visit to the studio to play, I have improved and found my rhythm. I am glad to share my tips, tricks, and images with you. I hope they will inspire you to try something similar.
Supplies:
I didn’t want to buy anything new for this project except the white ink. I found a small container of white ink to get me started on Amazon. I decided to use a glass cylinder vase that I already had in my vase collection. Using this type of container also kept the project more manageable and allowed me to shoot the flowers in a more macro close-up manner. I did have to keep the flower stems short to fit them under the water, but this also allowed me to focus on the small details vs the larger flower stem. A larger container would enable you to capture more of the entire flower. I did use a flower frog to hold the flowers in the bottom of the vase. I think this is a critical component of shooting submerged flowers in water. I also had a dark green and dark blue backdrop that I used. I do think shooting something dark behind the vase helps showcase the ink. I also used an LED light in my space, working in an area without natural light. A key to this project is managing your light and reflections. I used a tripod for my camera and a 2-second timer for taking the images.
Gear: I used a macro lens for my project. I chose this due to the size of my container and flowers. I also wanted a different view, a closer up of the flowers. You can use any lens and setup that works for you. I also had my tripod; a shutter release can help.


Flower Set up:
I chose to shoot with bright-colored flowers. I tried an off-white flower, but it did not work in my setup. I cut the flower stem to a height that would allow the flower to be under the water in the vase—placing the flower frog with the flower in the vase with clear water. After that, I began to shoot the flower for some practice shots for exposure and light management. Managing the light in a home setup is very challenging. You may need extra light or to block light that causes reflections. I had an LED light handy and some black foam board to help if I needed to block the light. The key is to reduce the reflections, and if you still have them, ensure they are not near your subject. You can edit some out in post-processing. Once I had my settings all ready to go. I set my self-timer on my camera to 10 seconds.
Shooting: Once you are ready to go, get your ink ready. Using the 2-second timer on the camera or interval shooting, I begin to place a little ink in the water and shoot. You want to shoot quickly as the ink settles and clouds the water. You only have a few minutes to shoot before it fills the water. I shot on the tripod, took it off, and moved around the vase to get different views.
Key Learnings: The most significant learning is managing the light and dripping the ink where you want it and in small increments. I did end of up using a dropper for the ink, my ink bottle did not come with one. Plan to mess up a couple of times, and then you will get the hang of it. I really enjoyed the process and the gorgeous images. I want to continue to shoot flowers from my garden this year with this technique to have an entire series.
Let me know if you try it and what results you get!