
Capturing Frozen Flowers
January 17, 2023“The camera adds a certain sheen to things. Something about being frozen in time makes things sparkle.” Brandon Stanton
This time of year, I dive into capturing the essence of winter, especially frozen things. I often get up early to go out and shoot the morning frost, take a winter walk near creeks or ponds frozen over, and at least once a year, capture a nice snowfall. I also enjoy the idea of creating frozen images at home. I have been studying artists like Paloma Rincon, who creates incredibly artistic images of frozen flowers. Or artists like Lisa Sorgini, who uses sparkling water to enhance her frozen subjects. The photo series, Zero Degrees by artist Bruce Boyd is a beautiful example of creatively capturing the softness of flowers with the stark contrast of the cold of ice.
I have photographed frozen flowers for years and played around with various techniques. It always sounds easy, but I have had varied results.
Here are my essential tips and learnings from many years of trial and error.

Tools to Get Started:
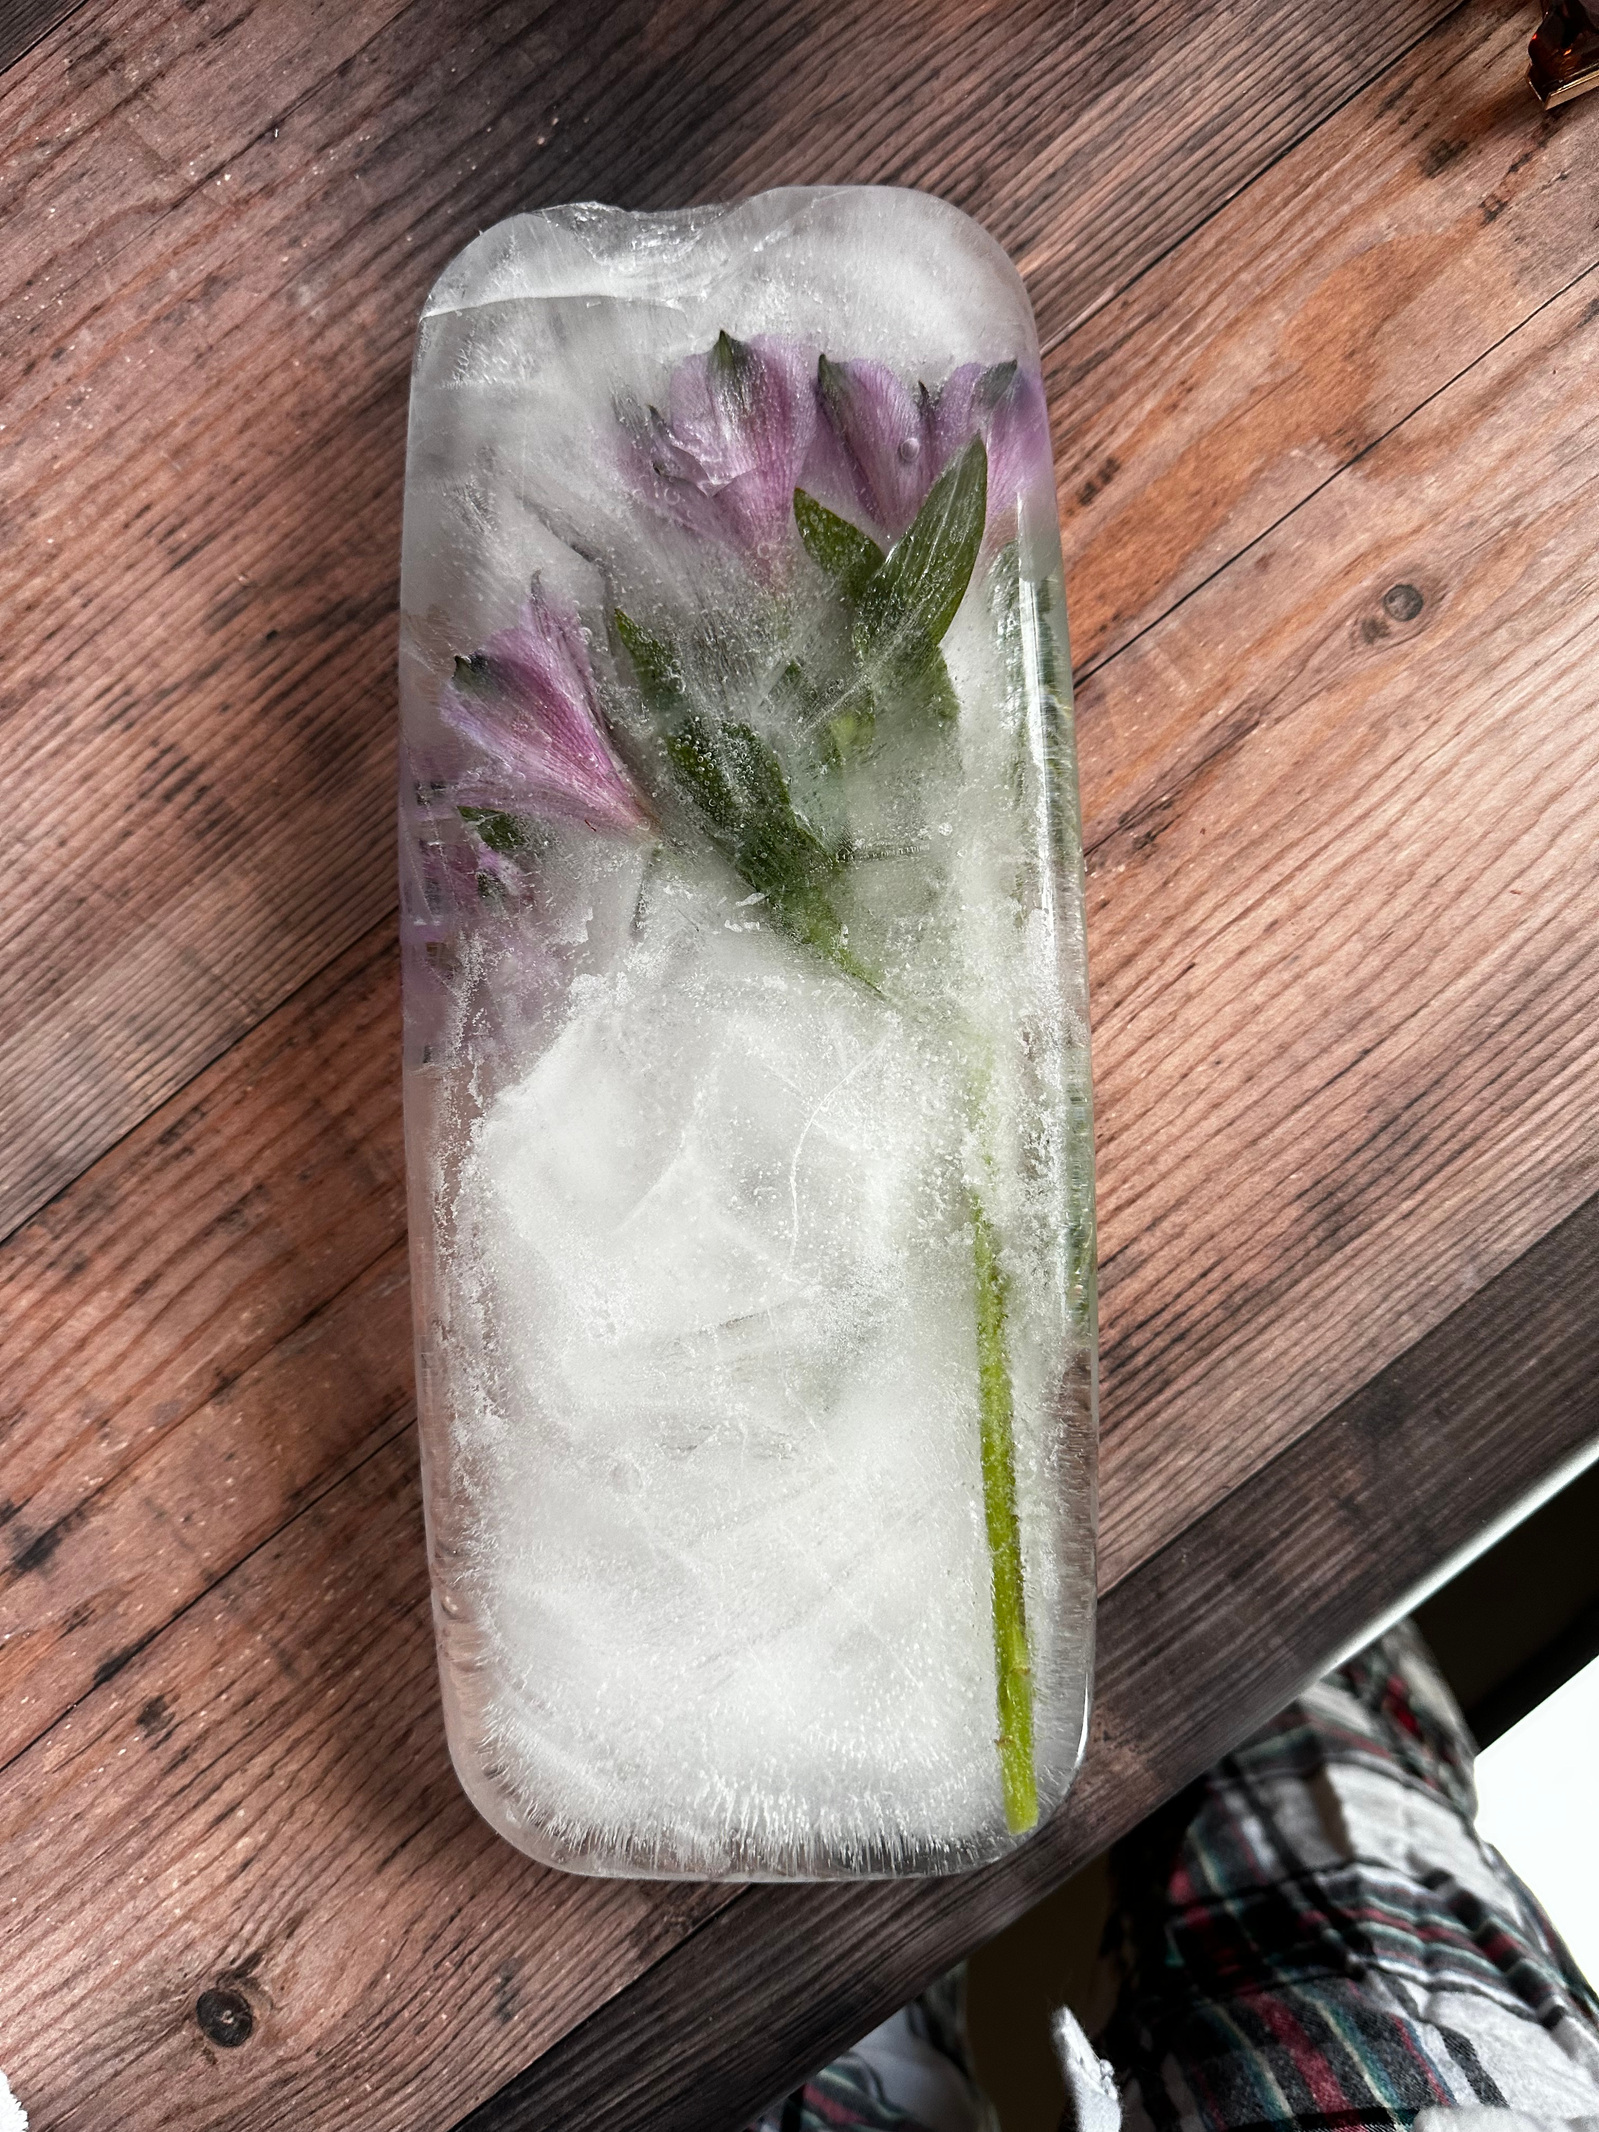
Containers: I have learned that plastic or cardboard ( milk carton) is the best option. Glass is too risky, and removing the frozen flower can cause the glass to break. Try a variety of sizes, long containers for a group of flowers, circle containers for buds or round flowers.
Water: Distilled water works the best or sparkling water for bubbles. Some tap water will cause the ice to have a darker white look. Try to use filtered if you have it available.
Subjects: Any flowers, leaves, fruits, and herbs will work—the more colorful, the better, as they will stand out on the ice. Try using single stems or groups of flowers, or even create a bouquet in the container.
Light: A good light source is critical for capturing frozen flowers. Use lamps, LED lights, flash, or place the ice block in a window on a bright day. The light will help reveal the details of the container’s flowers.
Backgrounds: Think about your canvas. I often shoot my frozen flowers on a white surface or use blue scrapbook paper to add a hint of blue to the images. Get creative. Shooting on paper can enhance the image and bring out more details.


Process:
- Start by adding flowers to your container. The flowers can fill the entire container, partially add in the water, filling only a couple of inches of the container. Stick it in your freezer.
- After a couple of hours, and once it has frozen, add more cold water until the flower is fully submerged. Place back in the freezer for 2-4 hours.
- Once frozen, you can remove the container and begin to photograph. I typically photograph immediately, but you can get interesting images as the container melts.


A creative option:
In my latest attempt at shooting frozen flowers, I created frozen vases for the flower. I used milk cartons to create an ice vase for the flowers. The trick with this technique is that the flower bud freezes, so you must be ready to shoot it when you bring it out of the freezer. The flower bud begins to melt very quickly.
I am continuing to modify and learn more about capturing objects in a frozen state. I hope you will enjoy trying these techniques and creating your winter masterpieces.

