
Tame the Greens
August 19, 2020


The color green is abundant in nature. It is a color that evokes powerful emotions. People usually connect the color green with growth, renewal, abundance, peace, and security. It is said to be the most soothing and relaxing color for the human eye to view. Think about the various shades of green that we often see in nature- fresh new lime green leaves in spring, dark blue-green winter pine, olived toned leaves of fall.
“Nature in her green, tranquil woods heals and soothes all afflictions.” John Muir
Often the color green that you shoot out in nature is not what you see when post-processing. The color green can have a cool or warm effect on your images, and mixed with other colors can change its hue. Often we need to tweak the color green, even if just a little. Let’s review some tips and tricks to “taming the greens” in your images using the HSL and Tone Curve in Lightroom.
- The first place to start is always with your vision for the image. What do you want to express about the subject? What mood or emotion have you captured? You can shoot a leaf full of water drops and modify the green to give off many different emotions. Start with emotion, vision, and then you can begin your edit.
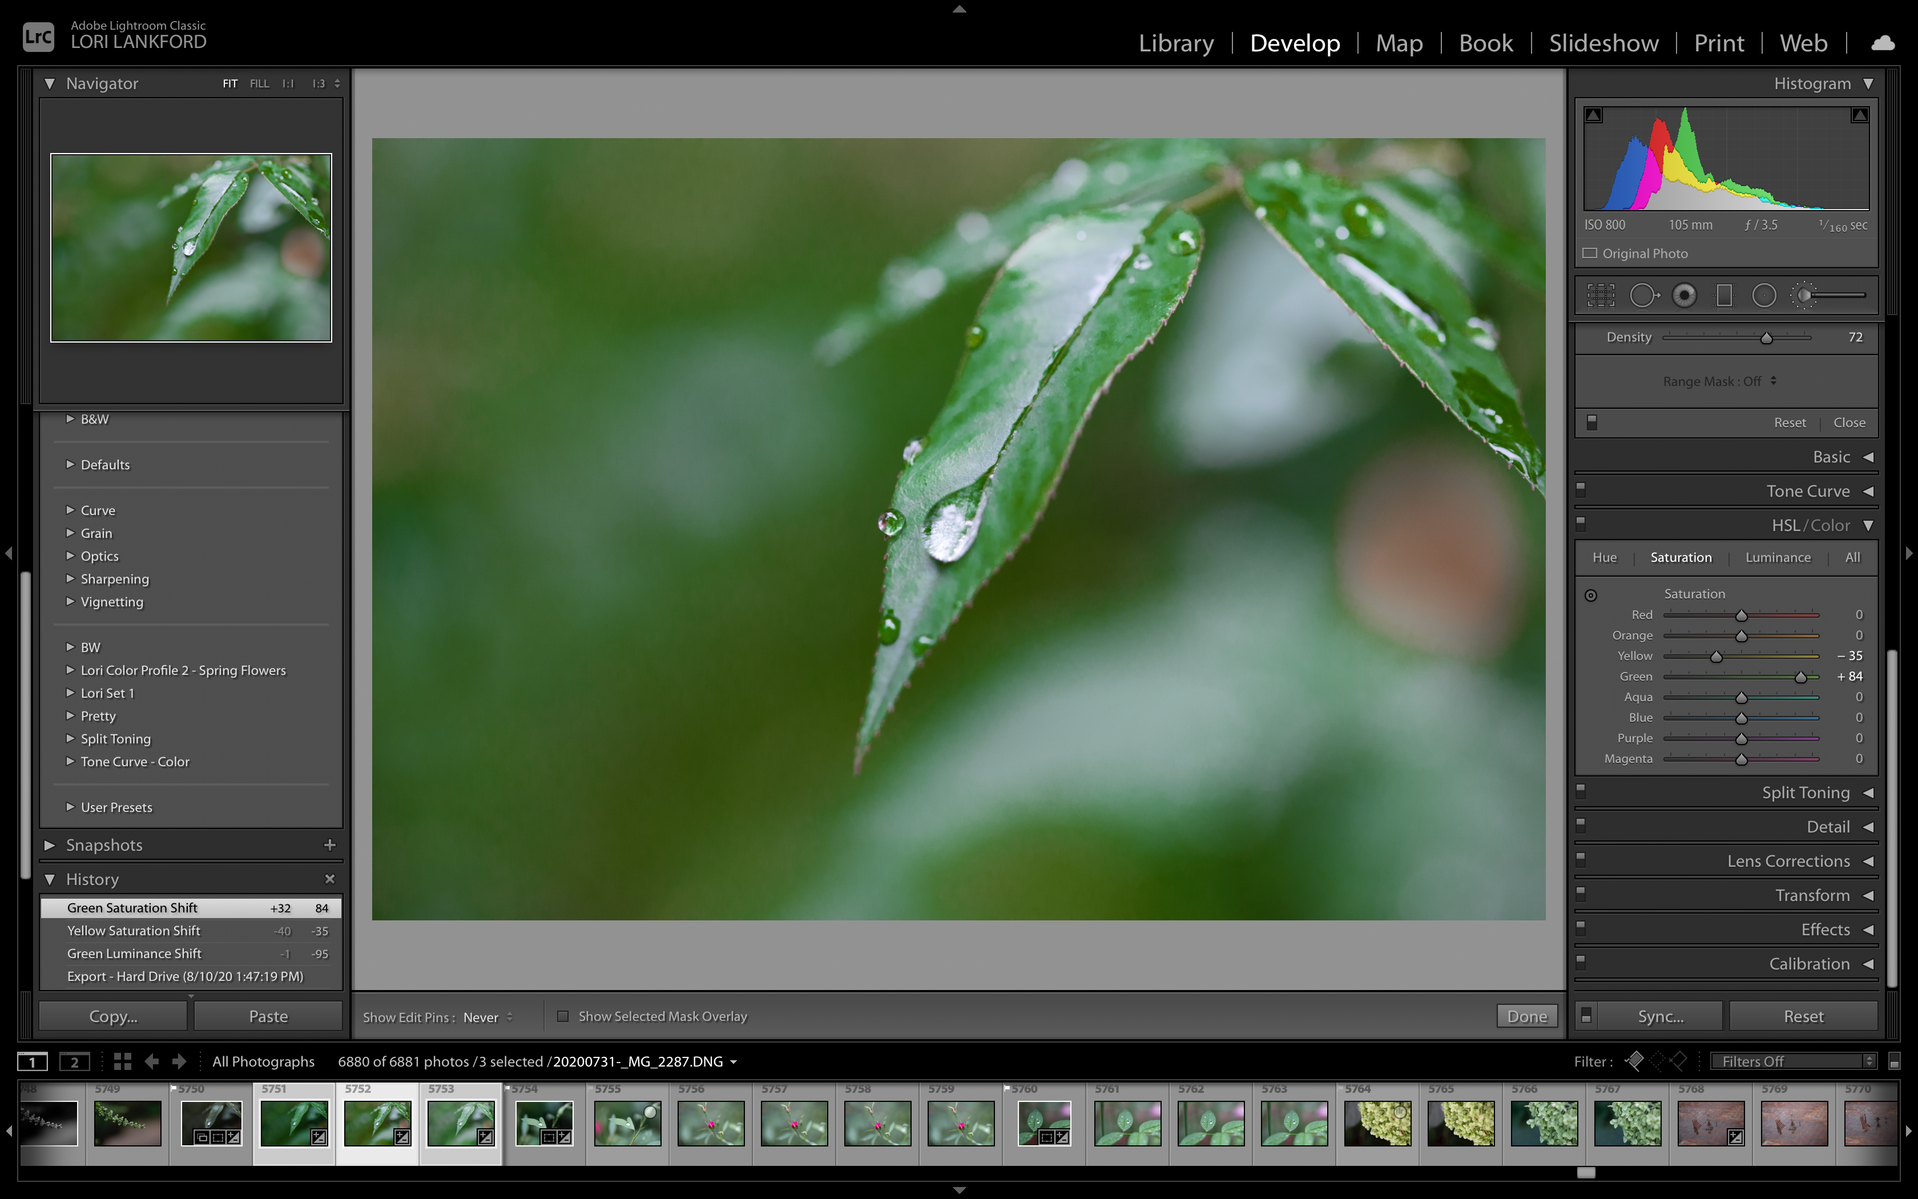
- Starting with the Hue, Saturation, Luminance panel, I begin by modifying the saturation of the color green. I will decide if I need to brighten the color by increasing the saturation to make the color pop, or if I want to reduce the saturation to give the color some warmth and depth.
- Once you adjust the saturation, you can edit the luminance of the color. If you have reduced saturation, it is helpful to increase the luminance. This change can make for a beautiful color balance by adding warmth to the color and then increasing the brightness.
- Modifying the hue of a color is an option if you need to change the actual color tone that you see. It is not the first place I start, but small tweaks of Hue can be a tool to modify the greens.
- Be mindful that often you will need to make changes to the colors yellow or blue as they show up with green.
Below is an example of making changes to impact the color in your image:
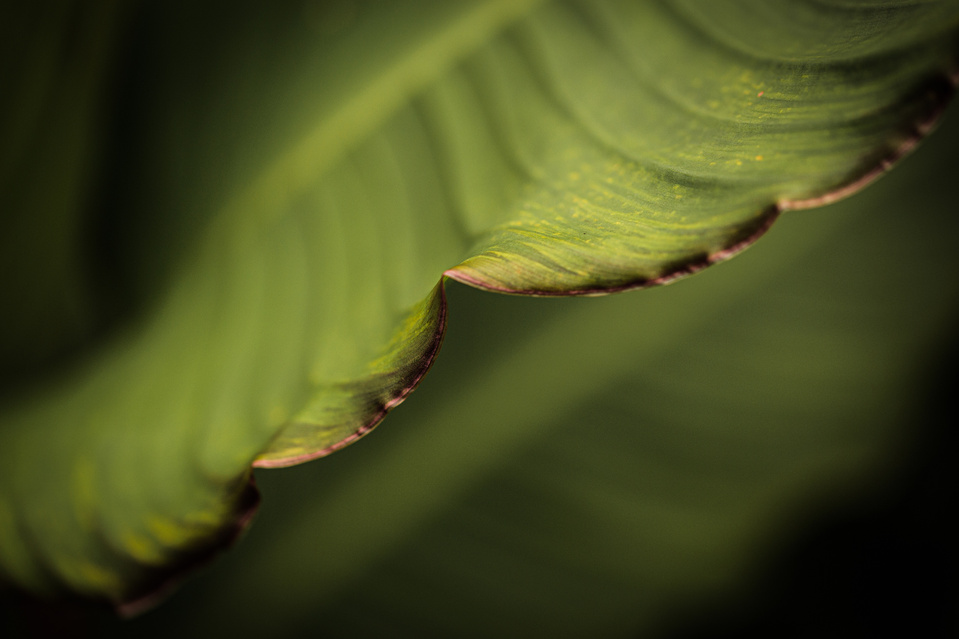
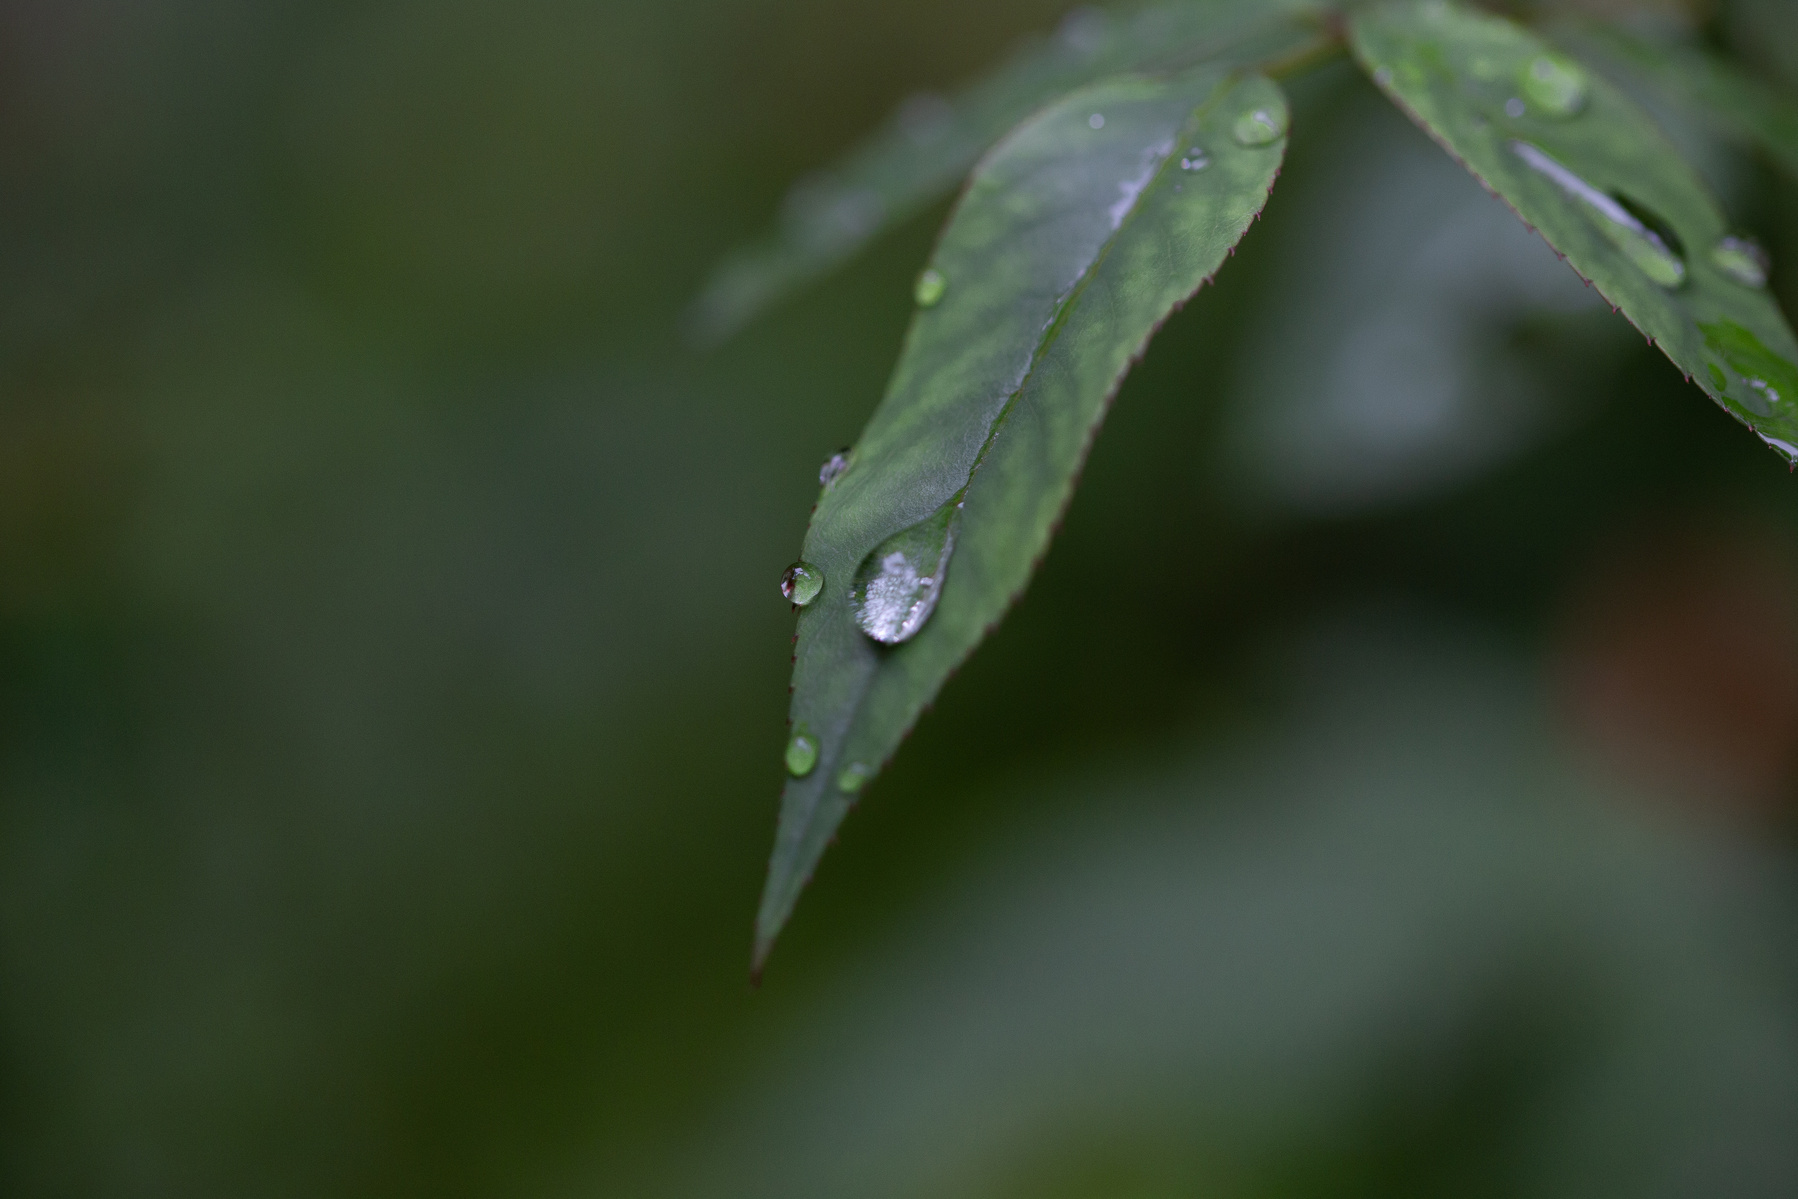
- The first image has a reduced saturation, increased pop of luminance, and no change to the hue.
- The second image has increased saturation to bring out the brighter color of green, and a reduction in the luminance to offset the more vivid color.
- The third image has a slight increase to saturation, and the hue increased just a little to brighten the green.


Once you have made adjustments to the color by using hue, saturation, luminance, you can then make other tweaks to ensure your vision is coming to life. One tool that can make helpful small adjustments to color is the tone curve.
- Using the RGB Tone curve in Adobe Lightroom, you can modify the green tones in an image. First, select the green tone curve from the RGB options. Next, choose a point in the middle of the tone curve; this will adjust the mid-tones of the image. You can increase the green mid-tones or decrease depending on the color tone you want to achieve. Remember that the opposite color of green on the tone curve is magenta. Adding a little magenta to the image can have a nice touch and can bring out other tones in the image. This is a great way to make some targeted changes to the color in your image.

As you explore “taming the greens,” play with the HSL and Tone Curve to see how it impacts your image. Always considering your subject, time of day, and the emotion you want to express. Editing like art is a personal preference. Do what makes you feel good and show your art in a way that is true to you.
For more ways to impact the color in your image, consider my online class Mastering Color in Lightroom.